
Why Winterizing Your Travel Trailer Is Essential
Failing to winterize your travel trailer can lead to frozen pipes, cracked water tanks and a damaged water pump. These issues are not only inconvenient but also expensive to repair. By taking the time to winterize your RV, you safeguard it from harsh winter conditions and enjoy peace of mind throughout the season.
Pre-Winterization Preparation: What You’ll Need
Gathering all necessary tools and materials ahead of time will make the process smoother and more efficient. Here’s a checklist to get started:
- RV antifreeze
- Air compressor
- Wrench for drain plugs
- Water heater bypass kit (if not already installed)
- Bucket and gloves
Tip: Double check that the water heater bypass kit is compatible with your travel trailer to avoid delays during winterization.
Step 1: Drain the Water System
The first step is to remove all water from your RV’s system to prevent freezing.
- Turn off the water heater’s heating element to avoid damage.
- Open the drain plug to completely drain the water heater tank.
- Empty the fresh water tank and black water tank at appropriate dump stations.
- Locate the low point drains to remove remaining water from the water lines.
Draining the water heater and tanks is important to preventing internal damage caused by freezing temperatures.
Step 2: Bypass the Water Heater
Protect your water heater by bypassing it before introducing antifreeze into your system.
- Locate the bypass valve near the water heater tank.
- Adjust the valve to redirect antifreeze away from the water heater.
This step ensures the antifreeze protects your water lines without entering the water heater.
Step 3: Introduce RV Antifreeze
Now it’s time to add antifreeze to your RV’s plumbing system.
- Attach a pump converter to the city water inlet or directly to the water pump.
- Turn on faucets one at a time until pink antifreeze flows through.
- Don’t forget to include often-missed areas like ice makers, outdoor showers and any additional water features.
Flushing the black water tank thoroughly before adding antifreeze ensures there are no lingering odors during storage.
Step 4: Double Check for Leftover Water
Even small amounts of water left in the system can freeze and cause damage. Inspect every part of your travel trailer’s plumbing system to ensure it’s fully drained.
- Use an air compressor to blow out any remaining water from low point drains and water lines.
- Check all faucets, including outdoor ones, to confirm antifreeze is present throughout the system.
Taking the time to double check now can save you from costly repairs when spring camping season arrives.
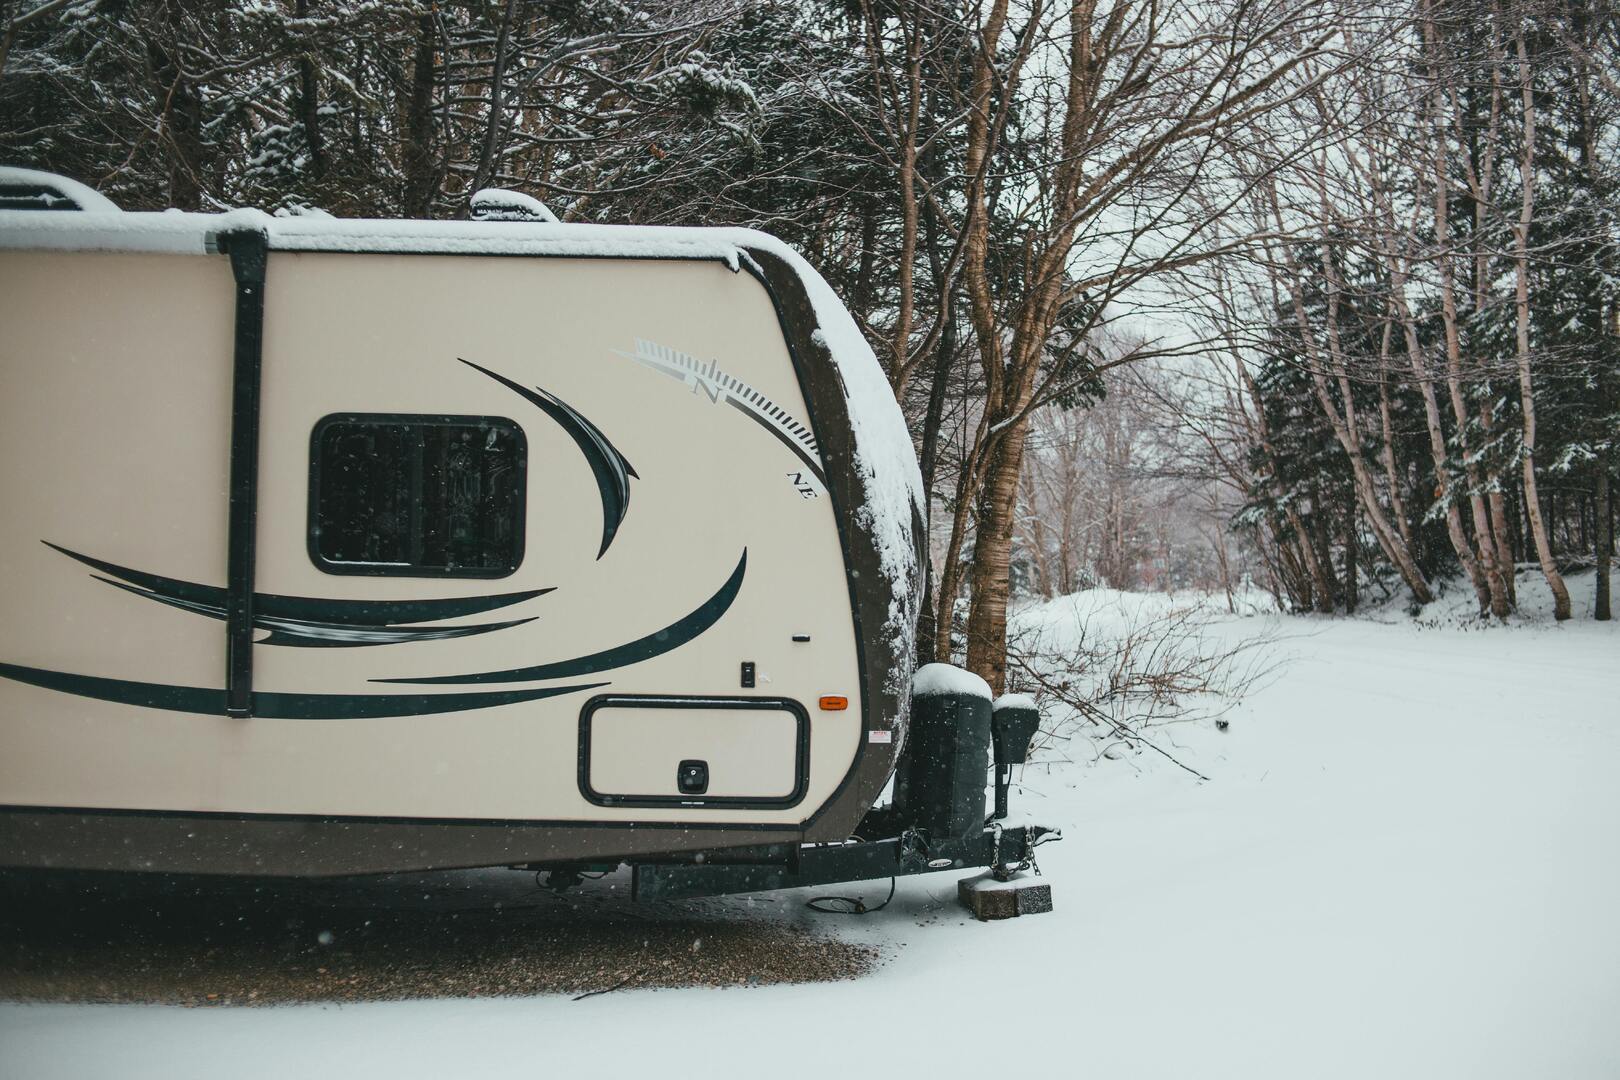
Storing Your Travel Trailer
Proper storage is just as important as winterizing your RV. Follow these tips to keep your travel trailer safe during the winter months:
- Cover your RV to protect it from snow and ice.
- Store it in a dry, secure location to prevent moisture buildup.
- Disconnect the battery and check tire pressure to maintain your RV’s condition.
A well-stored travel trailer stays in top shape, ready for your next escape when warmer weather returns.
Common Mistakes to Avoid
Even experienced RV owners can make errors when winterizing their travel trailers. Here are some common pitfalls to watch for:
- Forgetting to drain the water heater or fresh water tank
- Skipping outdoor features like ice makers or external showers
- Overlooking the importance of bypassing the water heater
Avoiding these mistakes ensures your travel trailer is completely winterized and protected from potential winter damage.
Ready for a Worry-Free Winter?
Winterizing your travel trailer doesn’t have to be complicated. With the right tools, careful attention to detail and these step-by-step instructions, you can protect your RV from the harshest winter conditions. A properly winterized travel trailer means fewer surprises in the spring and more time to focus on planning your next camping trip.
Take the time to prepare your RV now, and enjoy the peace of mind that comes with knowing it’s safe, secure and ready for the open road when the weather warms up.